Learn how to prepare a professional photo gallery for your clients step by step — from creating the gallery, through adding a cover and uploading photos, to sharing the finished gallery with the couple.
1. Creating a new gallery
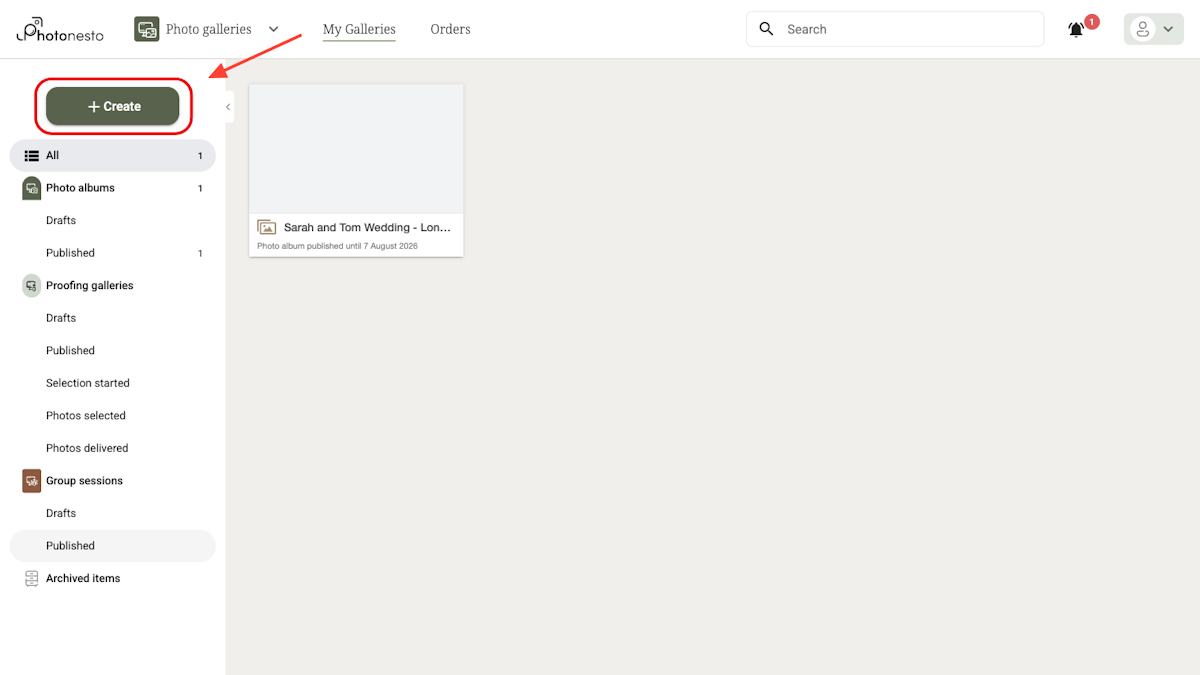
After logging in to your photographer panel, you will see the dashboard with a list of your galleries. To create a new wedding gallery:
Click the + Create button in the top left corner of the panel.
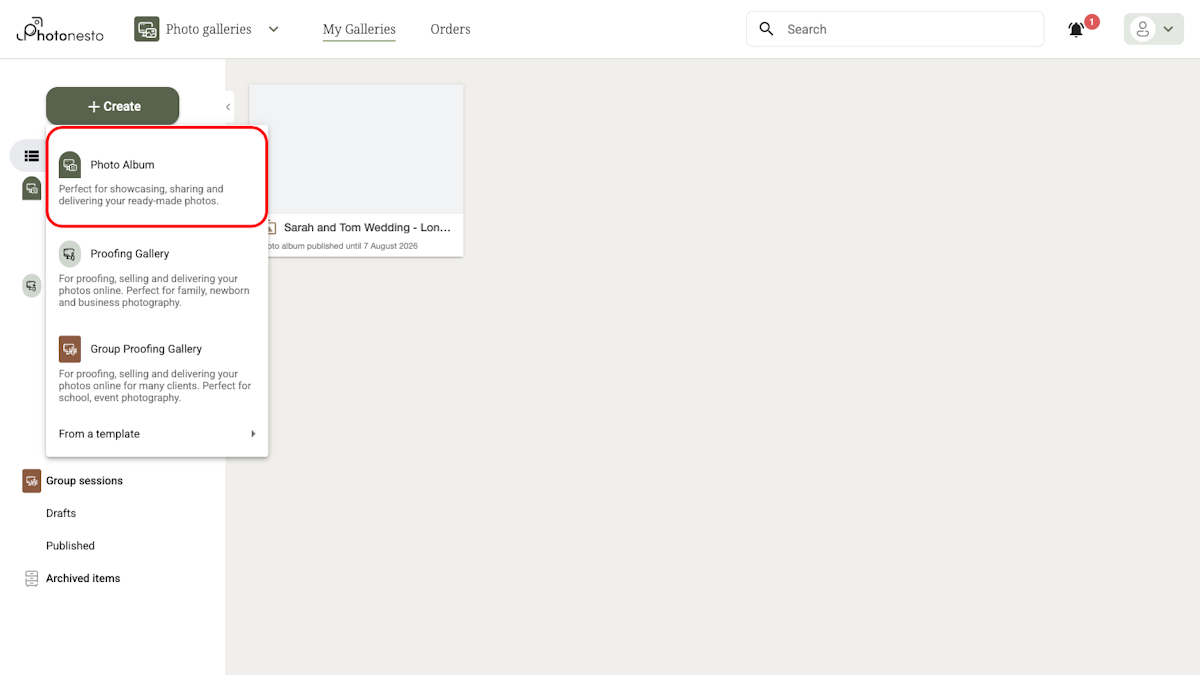
From the dropdown menu, choose Photo Album. This is the best gallery type for sharing wedding reportages.
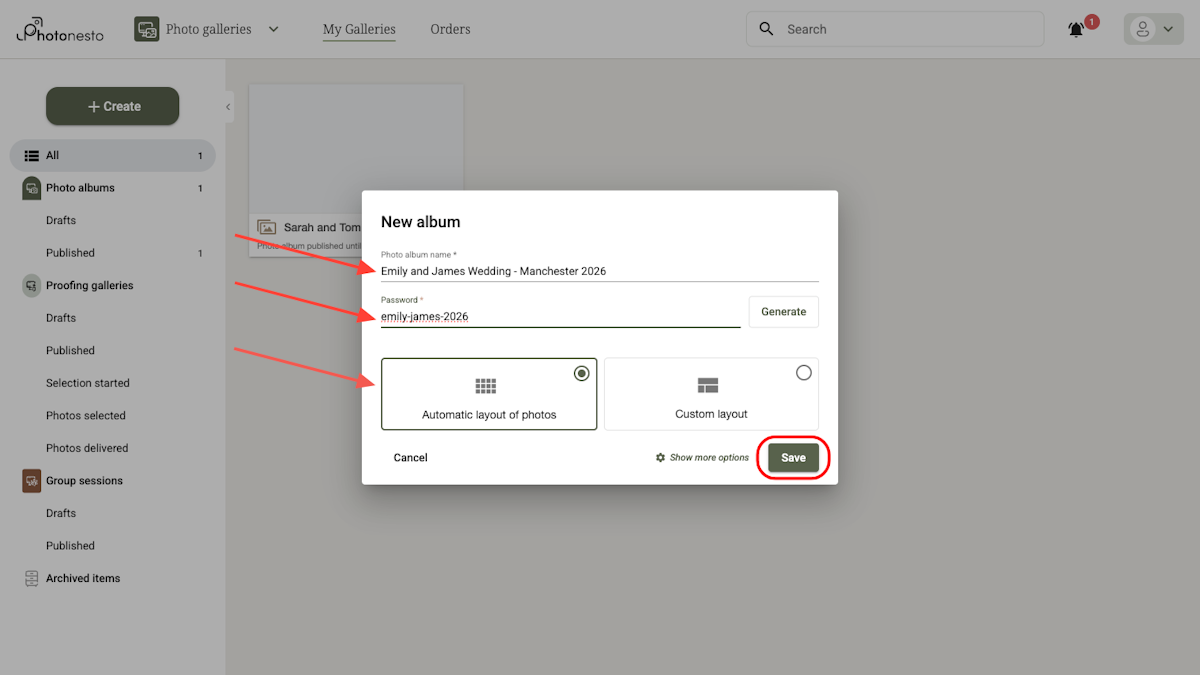
Fill in the new gallery form:
Photo album name — enter the name your client will see, e.g. “Emily and James Wedding - Manchester 2026”
Password — set the password you will send to the couple (you can also click “Generate”)
Photo layout — choose “Automatic layout of photos” (masonry) or “Custom layout” (story)
Click Save.
Tip: Use realistic gallery names, e.g. “Emily and James Wedding - Manchester 2026”. This name is visible to the client on the gallery cover and in the browser tab.
2. Adding a cover and uploading photos
After creating the gallery, you will be redirected to its details page. Here you will add the cover and upload photos.
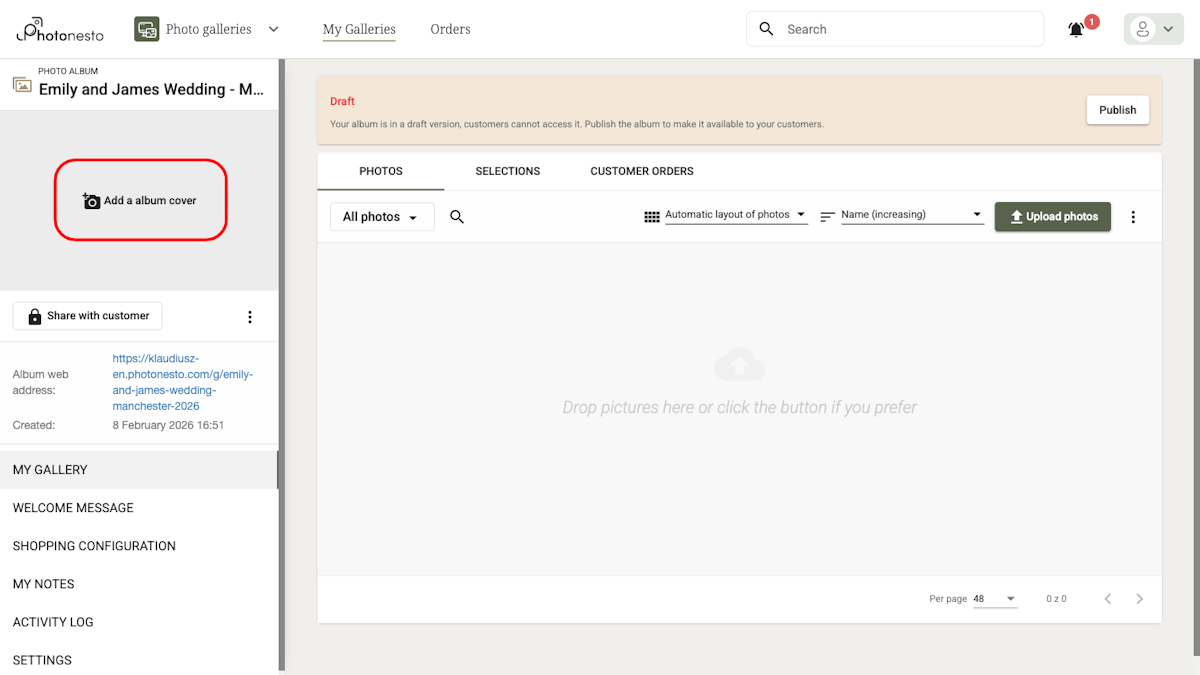
Adding a cover
Click the Add a album cover button in the left column, below the gallery name.
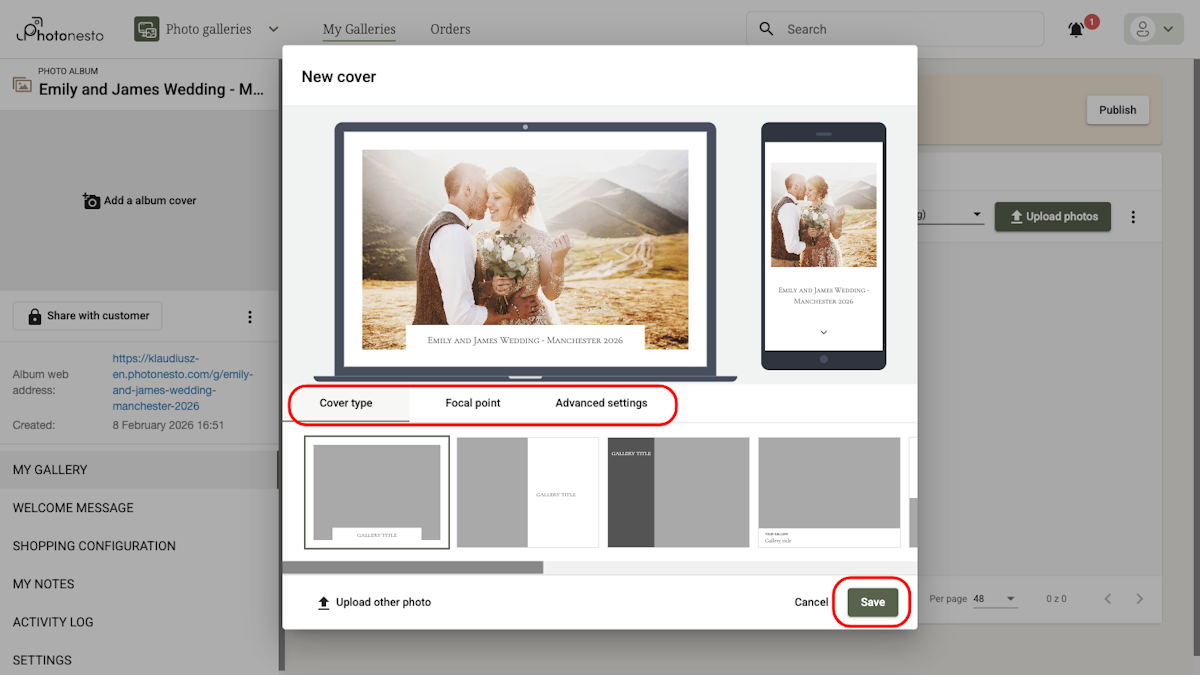
Select a photo from your computer. The cover editor will open, where you can:
Cover type — choose a display style from several available templates
Focal point — set which part of the photo should be the focus of attention
Advanced settings — additional display options
Click Save.
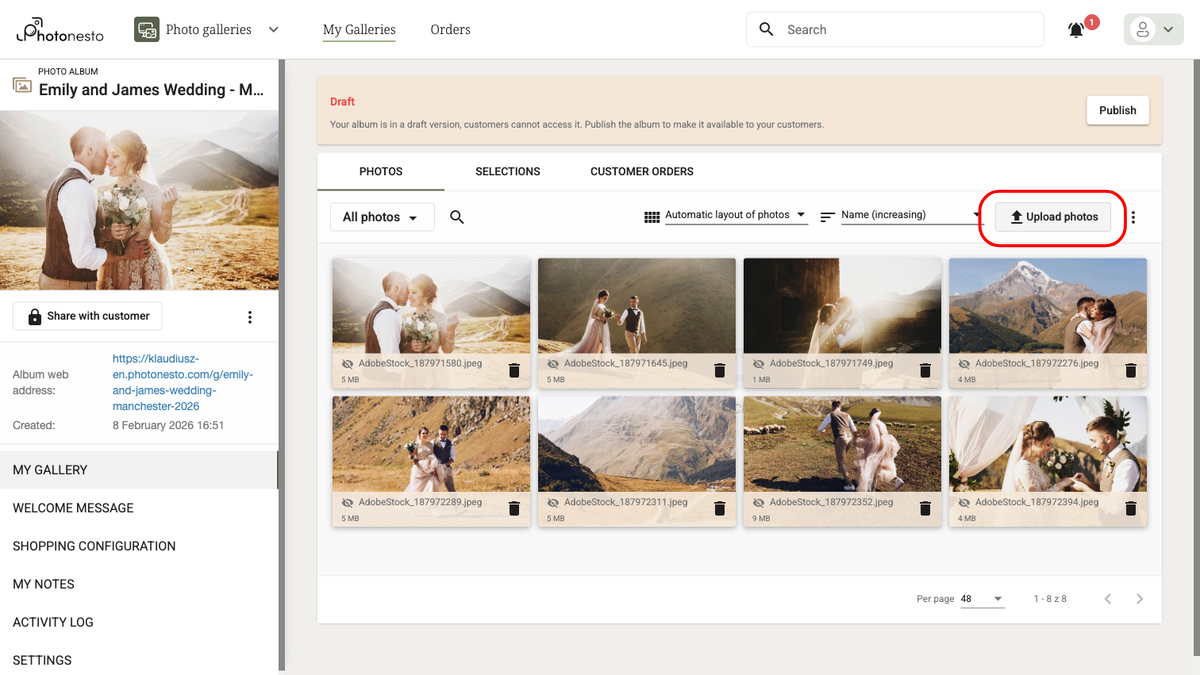
Uploading photos
Click the Upload photos button in the top right corner of the PHOTOS tab and select files from your computer. You can also simply drag and drop photos onto the gallery area.
Tip: Photos can be organised into folders. Click “All photos” to manage the folder structure — e.g. “Getting Ready”, “Ceremony”, “Reception”.
3. Setting up a welcome message
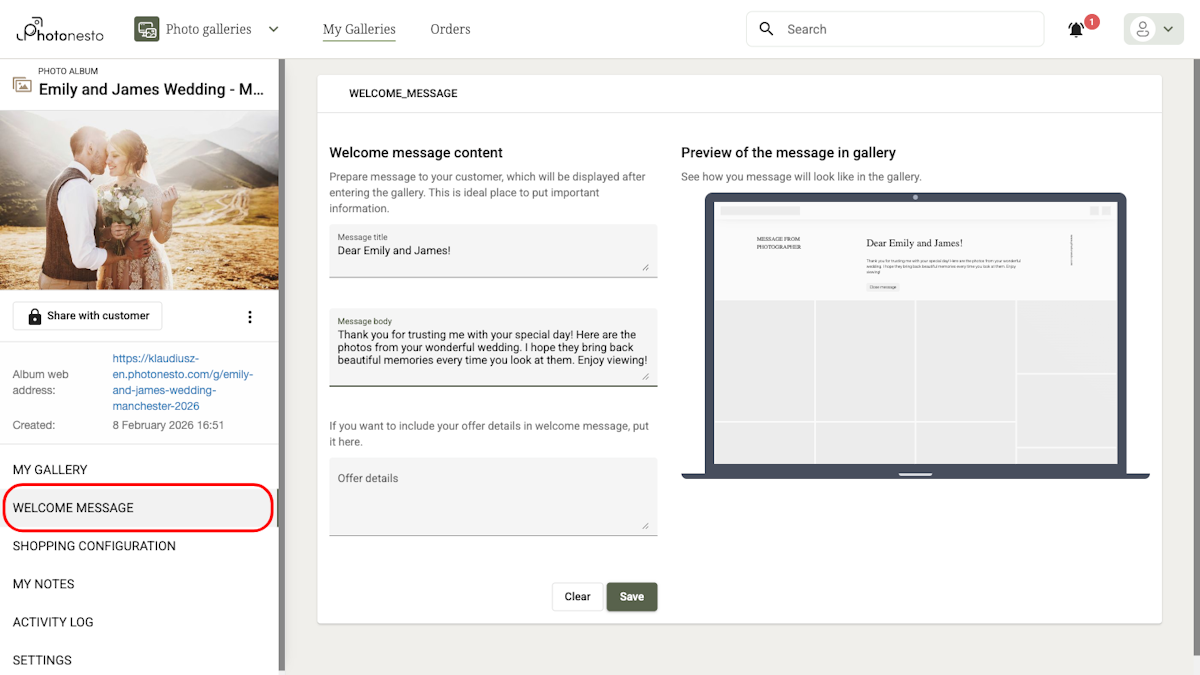
The welcome message is the first thing your client will see after entering the gallery. It is the perfect moment to add a personal note.
In the left panel, click the WELCOME MESSAGE section.
Fill in the fields:
Message title — e.g. “Dear Emily and James!”
Message body — a personal message addressed to the couple
Offer details (optional) — information about available products, e.g. prints
On the right side, you will see a live preview of how the message will appear in the gallery. Click Save.
4. Enabling print sales
If you want to allow your clients to order prints or other products directly from the gallery, you can enable shopping.
In the left panel, click the SHOPPING CONFIGURATION section.
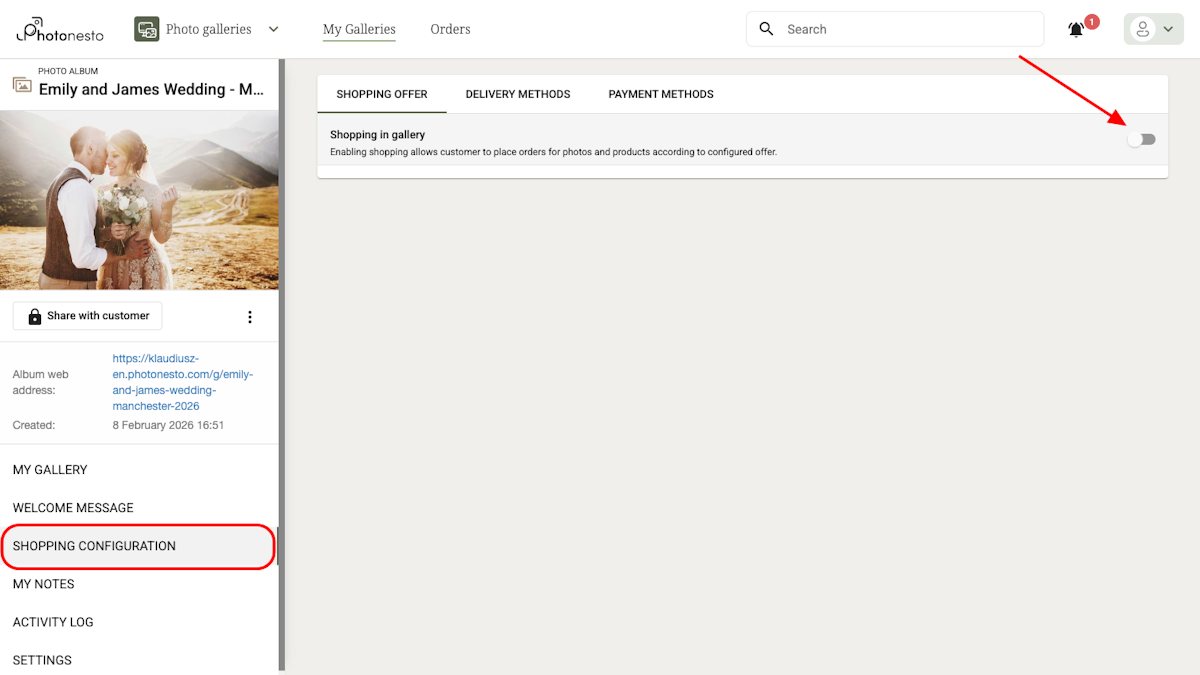
Enable the Shopping in gallery toggle. A configuration dialog will appear where you choose:
Currency — e.g. USD, GBP or EUR
Products pricing — select a previously prepared pricing list
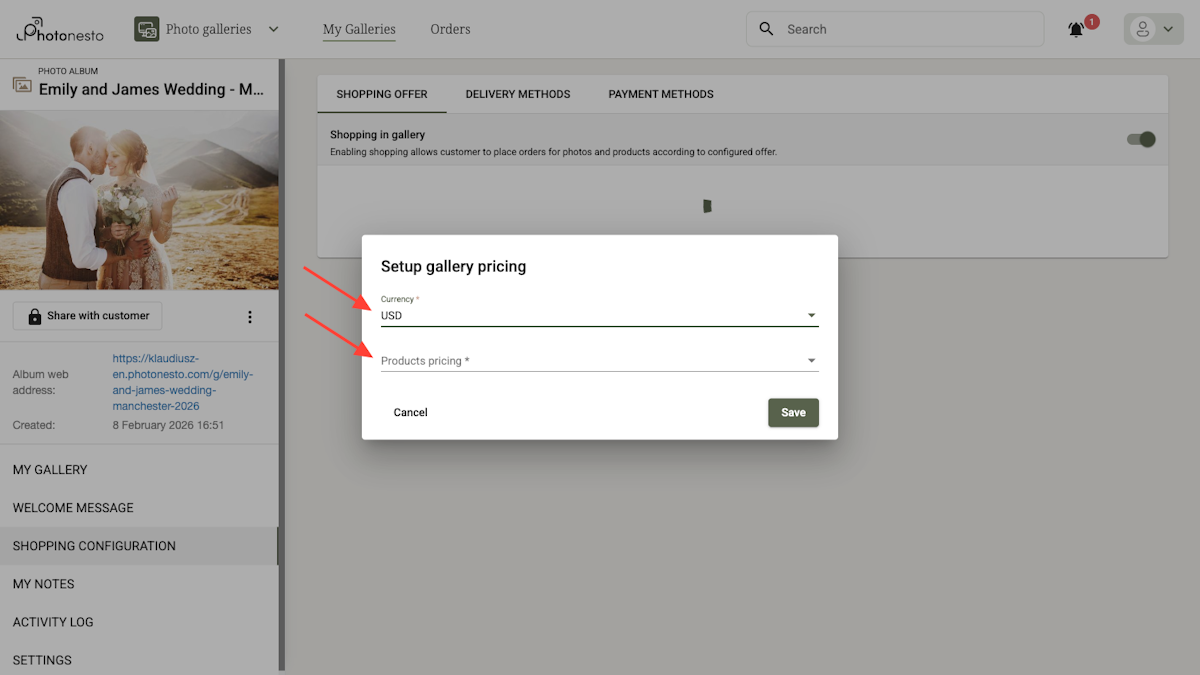
Note: To enable shopping, you must first create a products pricing list. Go to Shopping Configuration > Products pricing in the main menu to set up available products and their prices.
5. Link and password — sharing with the client
When your gallery is ready, it is time to share it with the couple. First, publish the gallery, then send the access details.
Publishing the gallery
Click the Publish button visible at the top of the gallery page (on the “Draft” banner).
In the dialog window, choose the publication period and click Publish.

Sharing the link and password
Click the Share with customer button (with the padlock icon) in the left column. A dialog will open with:
Gallery address — the link you send to the client
Album access settings — the password needed to access the gallery
The Copy link and pass button — copies both details to the clipboard
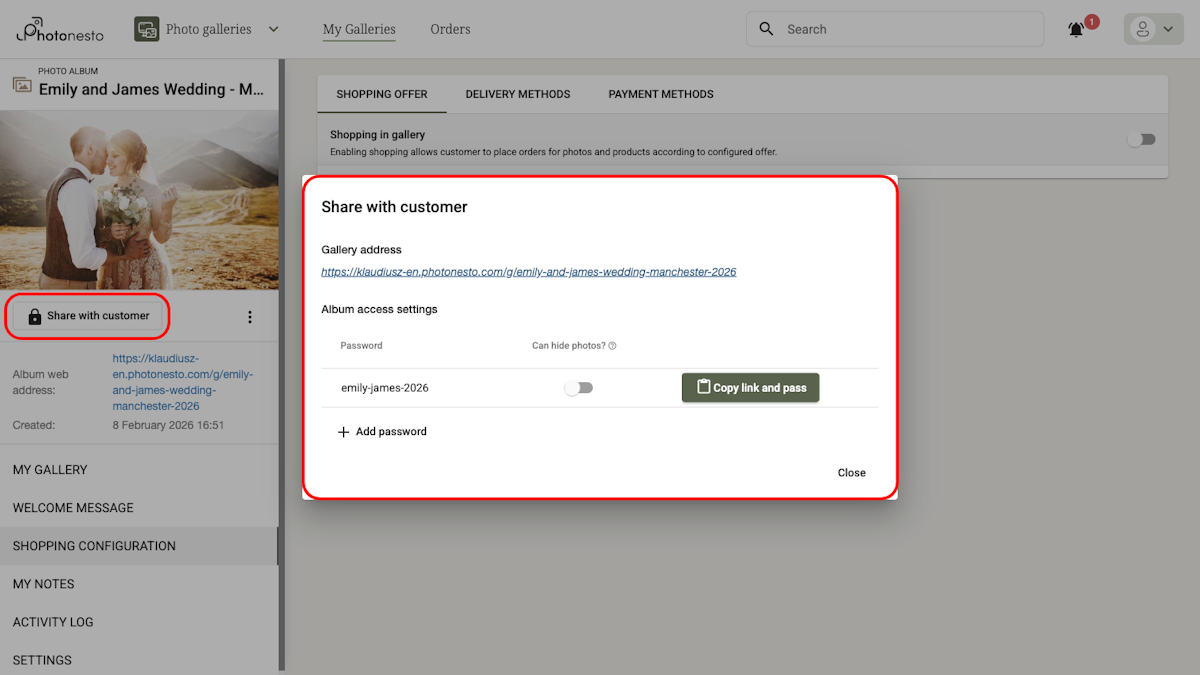
Tip: You can add multiple passwords to a single gallery (e.g. separate passwords for the couple, parents or guests). Click Add password in the sharing dialog.
The gallery address is generated automatically based on the gallery name, e.g.:
https://your-domain.photonesto.com/g/emily-and-james-wedding-manchester-2026
6. How the gallery looks for the client
Let us see how the finished gallery looks from the couple’s perspective.
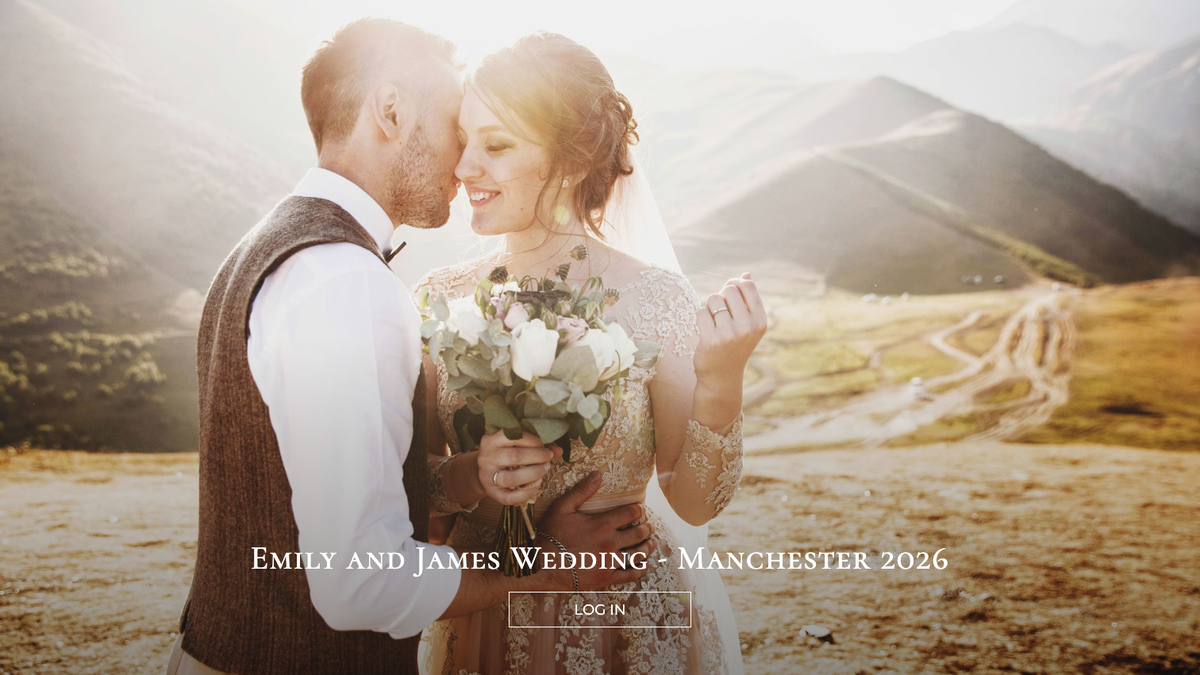
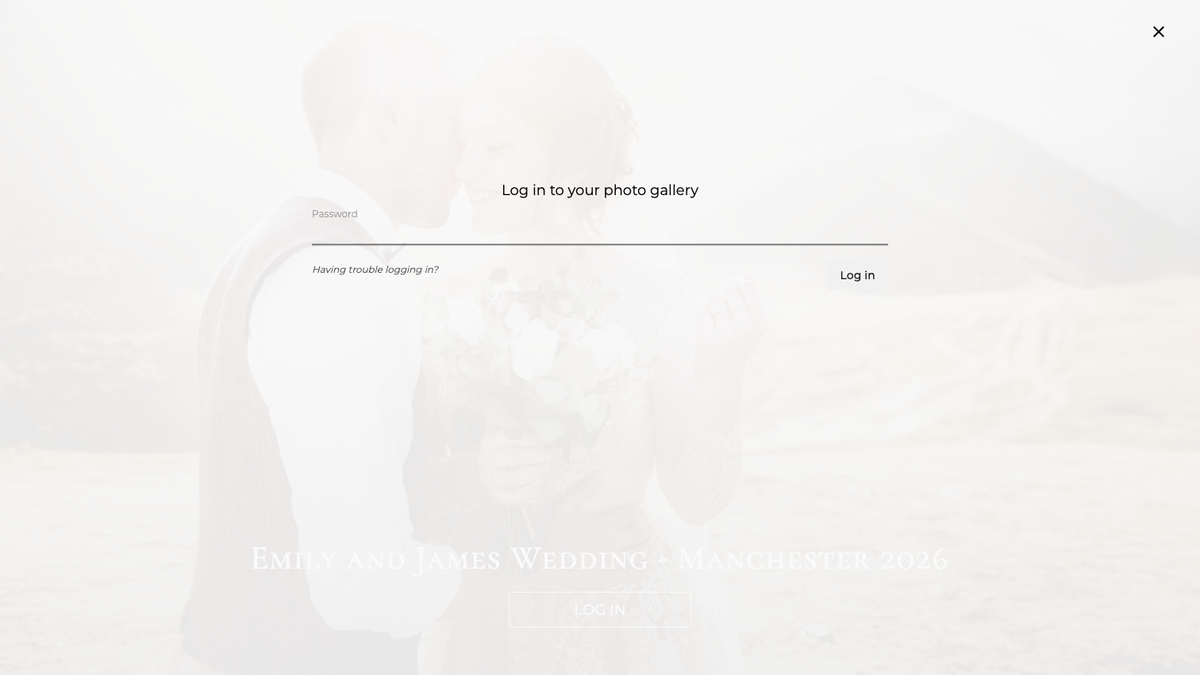
Login page
The client opens the gallery link and sees a beautiful page with the cover and gallery name. They click Log in and enter the password you sent them.
Welcome message
After logging in, the client sees your welcome message — a personal note addressed directly to them.
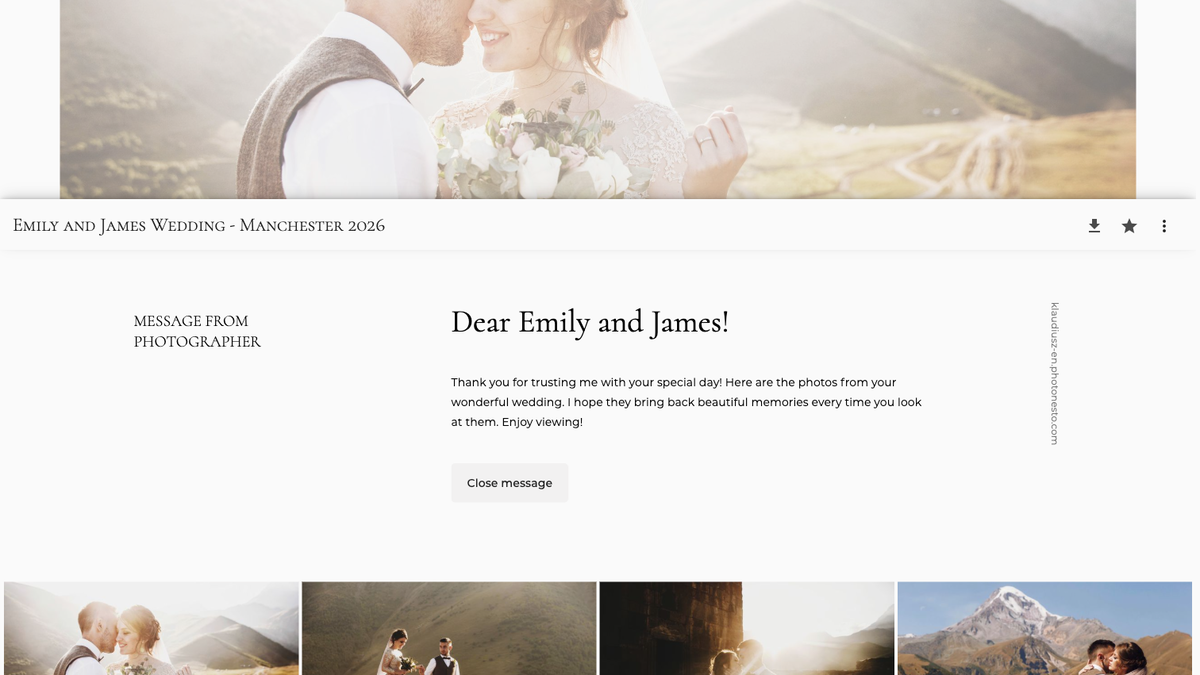
Photo gallery
After closing the message, the client browses the photos in the gallery. At the top they see the cover, and below it a grid of photos in the chosen layout.
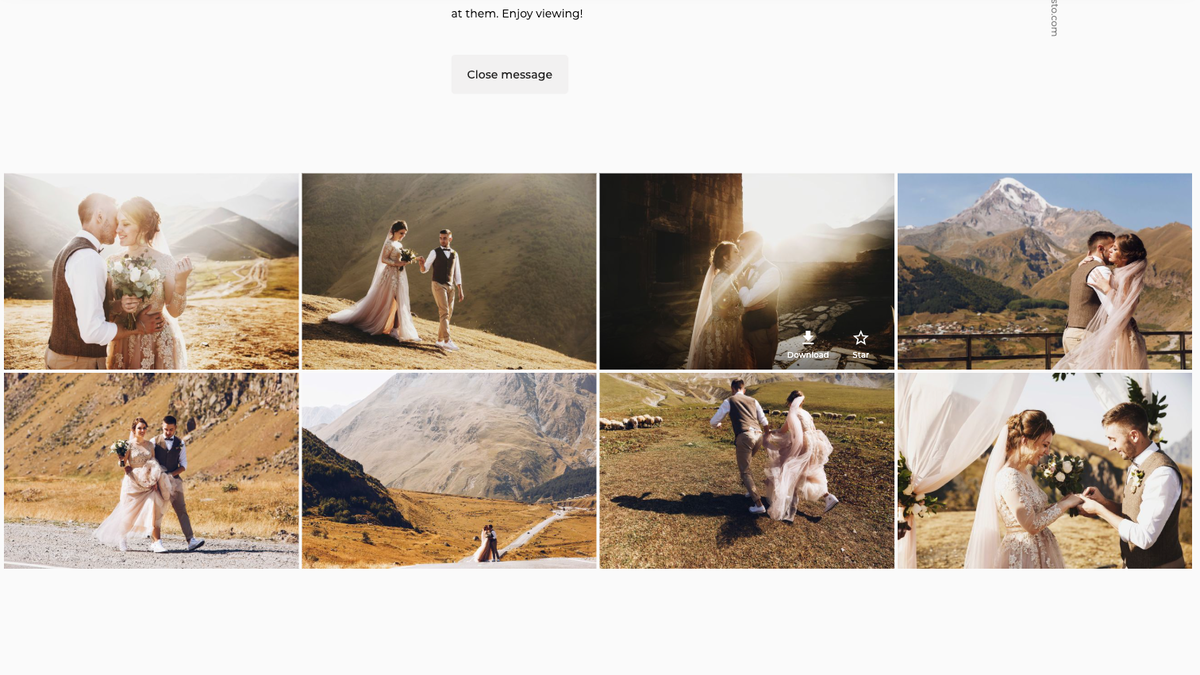
What the client can do in the gallery: Browse photos and open them in full size Star their favourite photos Download photos (if the option is enabled) Order prints and other products (if shopping is enabled)
Want to share wedding photos with your clients? Create a free Photonesto account and build your first gallery.